- Guides, tutorials and docs
- Learning the Woovebox
- The very basics
- Quick start tutorial and video
- Tempo and BPM
- Tracks
- Patterns
- Live pattern recording
- Conditional triggering and modification
- Chords
- Arpeggios
- Scales and modes
- Genres
- Patches and Presets
- Sound design
- Paraphonic parts
- Multi-instrument mode
- Risers, fallers, sweeps & ear candy
- Live mode
- Song mode
- Full song writing
- Sampler & vocoder
- Sidechaining, gating, ducking and compression
- Mastering
- Lo-fi & vintage analog and digital emulation
- Randomization
- Hall effect sensor playing
- Advanced techniques
- Undo
- Boot modes
- MIDI, Sync and connecting other gear
- Remote control expander mode
- Wireless MIDI over Bluetooth
- Battery and charging
- Hardware quirks and limitations
- Understanding DSP load
- Looking after your Woovebox
- Firmware updates
- Quick start tutorial and video
- Program a chord progression
Program a chord progression
Just like we did for the kick drum, make sure you are on the "sequencer" ("SEq") page of the chord track. Switching between tracks will usually keep the page you are on the same. So if you were on the "sequencer" page for the kick drum track, switching to the chord track will also immediately put you on the "sequencer" page for the chord track.
The chord track is the only "special" track that works a little different to all the other (2/bs-16/A8) tracks. Whereas you normally record single notes, hits or sample triggers to all the other tracks, the chord track records chords (e.g. multiple notes at once that sound harmonically interesting). The chord track is the only track that is truly polyphonic, meaning it is the only track that can play multiple, complex voices at the same time (your Woovebox is also capable of reproducing some limited paraphonic sounds/chords on the other tracks however).
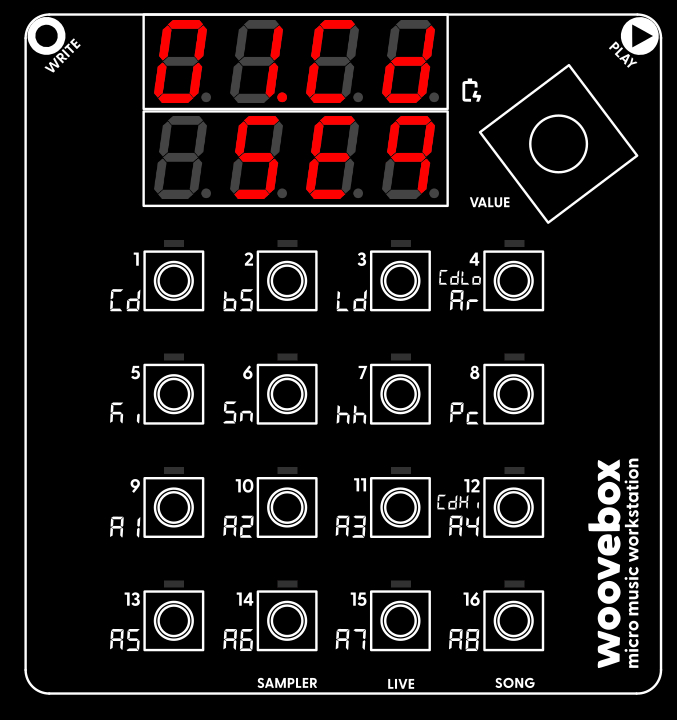
Unique to the chord track, rather than single notes, two sets ("types") of 7 chords are laid out across the 1-16 keys;
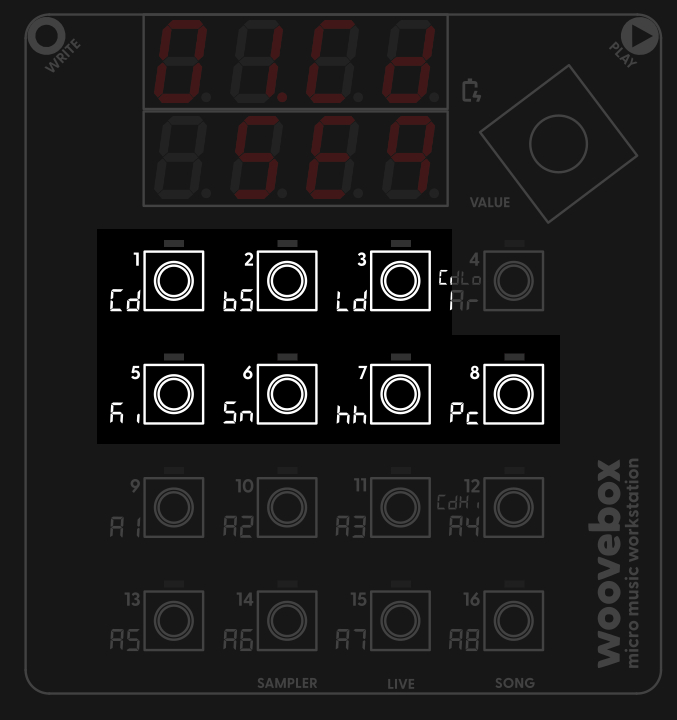
- Press key 1, 2, 3, (but not 4/CdLo), 5, 6, 7, 8 to hear the seven different chords at your disposal for chord type 1.
- Press key 9, 10, 11, (but not 12/CdHi), 13, 14, 15, 16 to hear the seven different chords at your disposal for chord type 2.
- Holding key 4/CdHi or 12/CdLo while turning the value knob to cycle through the different types of chords available for chord type 1 and 2 respectively.

Get a feel for how the chords work and sound, and how you can cycle through the different types. Doing so, you may already find a chord progression (say a sequence of four chords) you really like. And of course, select a different preset if you don't like the timbre.
For your convenience (or if you are not that familiar with the different types of chords and how they sound), the chord track's two sets of chord types start off in "diatonic" ("diat tri" and "diat 7th") types (unless you are using a more exotic key/scale that does not permit this). Without delving too deeply into music theory, it is enough to know that the seven diatonic chords from the harmonic foundation of Western music, provide the basis for creating progressions and harmonies that sound cohesive within your song's chosen key/scale. Or in other words, just playing key 1, 2, 3, (but not 4), 5, 6, 7, and 8, you will notice that you can construct most popular chord progressions with just those seven keys!
As with our kick drum track, the pattern starts off empty. So playing the pattern back will not produce any chord sounds yet; let's change that. Assuming you wish to program a 4-chord progression;
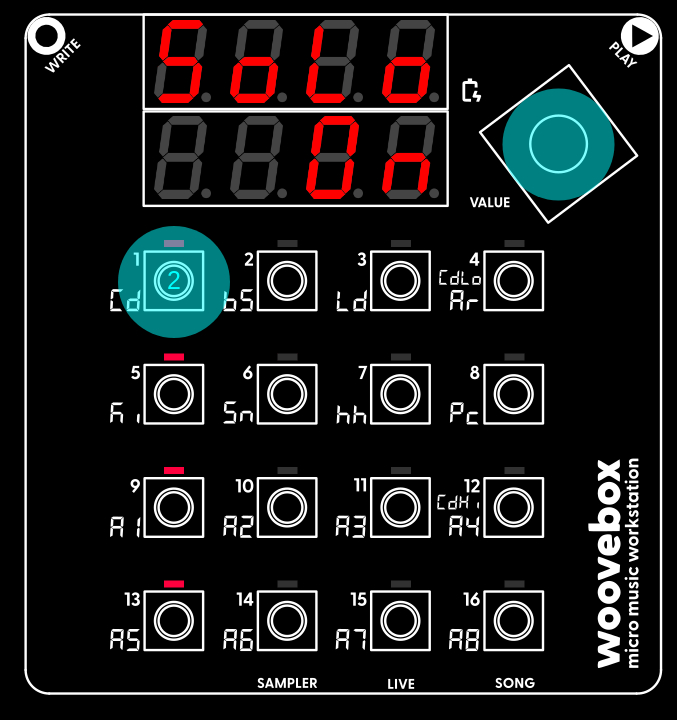
- Play (choose) your first chord.
- Hold write and short-press key 1. The chord you played is now programmed to play when the play head encounters step 1; the LED at step 1 is now lit up.
- Play your second chord.
- Hold write and short-press key 5.
- Play your third chord.
- Hold write and short-press key 9.
- Play your fourth chord.
- Hold write and short-press key 13.
Just like with the kick drum track, if you made a mistake and wish to delete a chord from a step, simply hold write and short-press the key corresponding to the step you wish to clear. You may also edit one or multiple programmed steps in-depth by holding a step, but let's keep things simple for now.
And just with the kick drum track (or any track for that matter!), if you cannot find immediately find a chord progression you like, you can also have your Woovebox generate a random one for you; on the "SEq" page choose and action the "rand Pttn" context menu option.
Once you have your chord progression entered, press play to hear your chord progression being played back to you. Press play again to stop the playback. You will once again notice that pressing play caused your song to be automatically saved.
You may also have noticed that, by default, the chord track steps through its programmed steps four times as slow as the other tracks. That's because the BPM divisor (b.div under 1/Cd on the Pttn page) for its patterns defaults to 4. You are, of course, free to change this as you please.
You may also be interested in...
- "007: Requiem for a Spy" (under Sound demos)
Effortless use of quintessential 6th and 9th "Bond" chords and progressions.
- 1. r.buS Receive Bus (under Dynamics)
Specifies which bus should be used for the signal that will control the volume attenuation for this track.
- 15. Md.bM MIDI Patch bank MSB (under Patterns)
- 16. Md.bL MIDI Patch bank LSB (under Patterns)
- Randomizing a pattern (under Randomization)
If you use the feature on a kick track it may introduce conditionals, etc.
- Guides, tutorials and docs
- Learning the Woovebox
- The very basics
- Quick start tutorial and video
- Tempo and BPM
- Tracks
- Patterns
- Live pattern recording
- Conditional triggering and modification
- Chords
- Arpeggios
- Scales and modes
- Genres
- Patches and Presets
- Sound design
- Paraphonic parts
- Multi-instrument mode
- Risers, fallers, sweeps & ear candy
- Live mode
- Song mode
- Full song writing
- Sampler & vocoder
- Sidechaining, gating, ducking and compression
- Mastering
- Lo-fi & vintage analog and digital emulation
- Randomization
- Hall effect sensor playing
- Advanced techniques
- Undo
- Boot modes
- MIDI, Sync and connecting other gear
- Remote control expander mode
- Wireless MIDI over Bluetooth
- Battery and charging
- Hardware quirks and limitations
- Understanding DSP load
- Looking after your Woovebox
- Firmware updates